Day 365 – Refinishing a Table

And now…the moment you I have been waiting for…

Can you believe that I have been doing this madness for 1 whole year?

Everyone has been asking what I am going to do for my grand finale to ring in the new year (the new year of not having a Pinterest project every day). I really wasn’t sure. It seemed like everything I could think of would be a let down. I am not really sure what constitutes a finale-worthy project, but I guess this one is suitable.

We had been on the hunt for an end table to refinish for a while. We found one at the ReStore for $20, and even though it supports a great cause, I just did not want to pay that much money, knowing that I would still have to put some money into the table to get it looking modern.

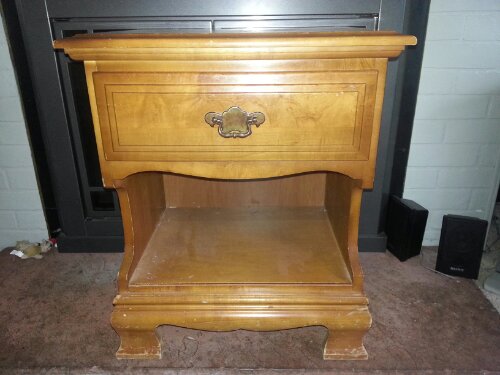
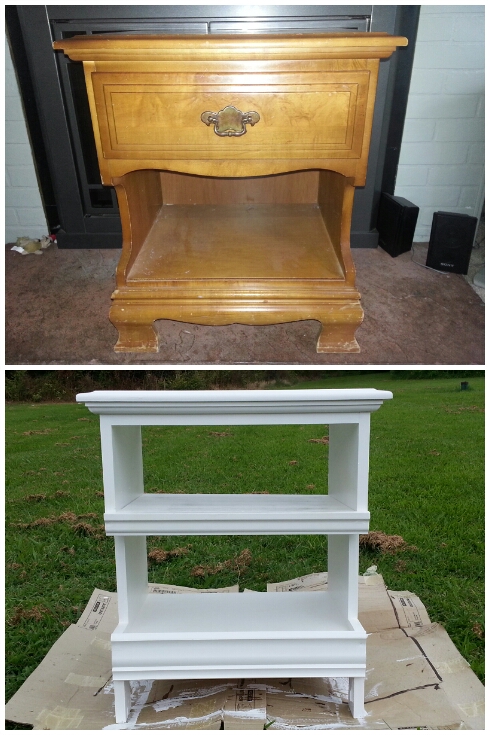
Most of the tables that we found were in the $20 (or more) range, so we were persistent and kept on looking. One day we found this lovely gem at Goodwill for $6.
image

image


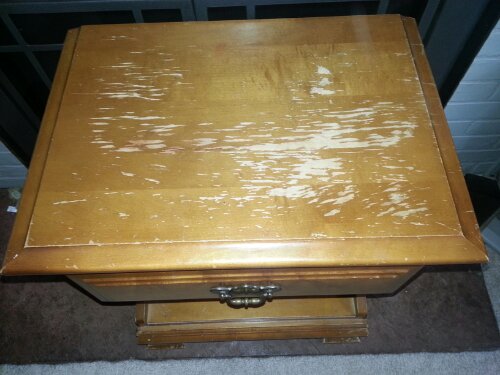
The drawer was very broken, but the rest of the table was in excellent condition. It was very well made. It just needed some sanding and a bit of other touch-ups.

I have never attempted a project like this before, and I was determined to do it on my own. I mean, women on HGTV do all kinds of crazy stuff on their own, right?

After some discussion about what would look the best, we decided that we would not try to repair the drawer. Instead, the husband would cut a shelf to go where the drawer was. I am not the best with power tools, so I thought it would be acceptable to take his help with this small part. I could handle the rest.

My first job was to sand down the top. The varnish was peeling off, so I sanded it down to a nice smooth finish. The rest of it was in good shape and did not need any touch-ups. The next task was to bust out all of the drawer mechanisms to create an open space for the shelf. I grabbed a hammer and whacked the heck out of the drawer parts…and it looked exactly the same as it did before I started. Maybe there was a little dent, but that’s about it. Every hit I took hardly made any change in the progress. I swallowed my pride and asked for some assistance, and the husband got it unstuck in 1-2 hits. Figures.

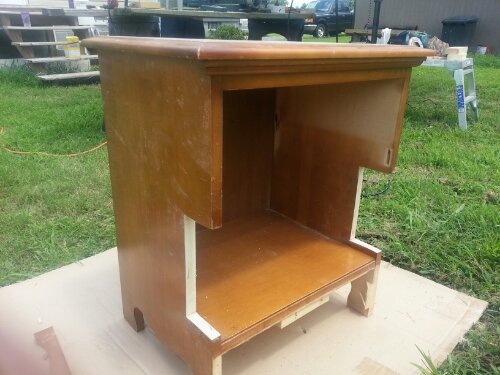
The original design of the table had a curved cut-out on each side. To modernize it, the husband cut it to be straight instead.
image

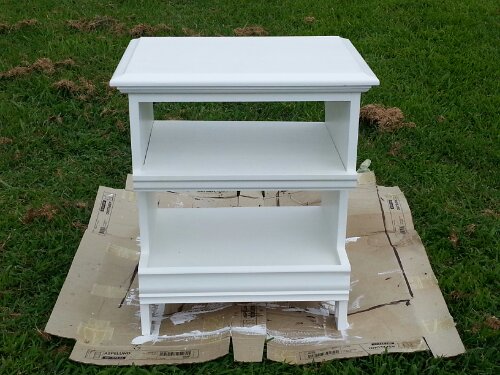
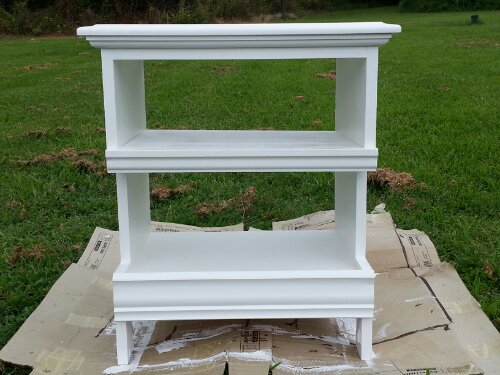
Then he got the shelf stuff in place and added some molding that we had laying around.  After a little wood-filling some nail holes and things, I primed it using Zinsser Primer (recommended by this blog) and then painted it. I had 2 coupons for a free sample of paint from the summer color palette at Lowes. I chose “Du Jour,” which is basically white. I thought it was a little off white, but really it is whitey white white, which works just fine. The only problem was that it seemed like it needed to be a little shinier. I was afraid that the paint would scratch too easily, so I got some polyurethane spray and applied 2 coats.
image
image

My plan is to find some bins (like ones that you see in basically every Target in America) to go on the shelves for things like pens, and notepads and things.

I am super happy with how this turned out and I think it makes a good end to one Pinterestful year.

Total cost: $6 (table), $4 (portion of the primer, there is a lot left), $8 (polyurethane), $2 (wood filler), $6 (wood for shelf) = $26
image

Day 364 – Cord Corral Tube

If you were to walk into my classroom (well, once it is fully set up), you would notice that we have a lovely smart board at the front of our room. The document reader that is connected to it is on a nice white cart and it is really a great set-up. The one problem is all of the cords. There are the electric cords from the smart board, document reader, speakers, and computer charger. Then there are also the cords that connect the document reader to the smart board and the ones that connect the speakers and the ones that connect the smart board to the computer. It is pretty chaotic over there. It would make perfect sense that you walk in and out of the side that doesn’t have the cords all over the place, but when you have kids involved, common sense sometimes goes out the window. Last year I don’t think we had any full trippers, but we definitely had some tangles. GO THE OTHER WAY!

To try to combat the cords, I created a cord corral out of a paper tube. It is so simple, yet (I hope) so effective.

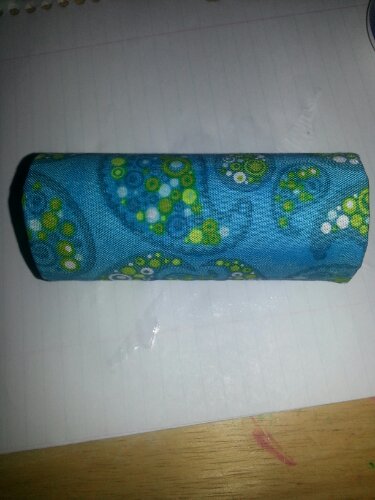
I painted the tube with Mod Podge and then wrapped a scrap of fabric around. I let the fabric hang off the ends a bit.

Then I painted the outside with Mod Podge, making sure to cover the edges of the fabric that were hanging over.

Once it dries, I am going to cut off the extra fabric. The Mod Podge will keep the fabric from fraying. Then I am going to cut the tube open (one long cut down the side) so the cords can slide in once they are all plugged in.
image

Here is the link to the pin where I got the idea, but I kind of took my own way with it. I think it will be a cute way to hold our cords nice and tidy.

Total cost: $0

Day 363 – Stop Behaving Badly Notices

I’m cutting it close on time tonight…it is after 11:00 and I am just starting my post. Good thing there are only 2 days left!

Today I made these little signs to pass out to kids who are not doing the right thing in the classroom. The benefit to co-teaching is that we always have lots of extra people around to notice when kids are off task. Sometimes we can politely tap them and ask them to stop, but this notice is a tangible sign to remind them that they need to get back on track without interrupting the lesson.

Here is the link to the document so you can use them in your own classroom:

Stop What You are Doing Signs

I plan to print them on card stock and laminate them. We can have a pile of them in the room where all of the teachers and assistants know where to get them to pass out whenever they are needed. I made them small enough that they can be discreet. My hope is that only the perpetrator will notice he or she got one, not the whole class.

We will see how this works in real life in just a few weeks…

Total cost: $0

Day 362 – Rainbow Icing Design

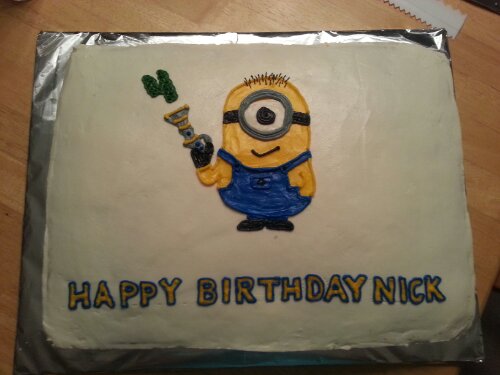
Can you believe my baby nephew is turning FOUR in just 4 days?! Tomorrow is his “Spicable Me” birthday party, so I made the cake tonight. There wasn’t a lot of room for Pinterest fun in this cake, but I managed to (almost) incorporate an idea.

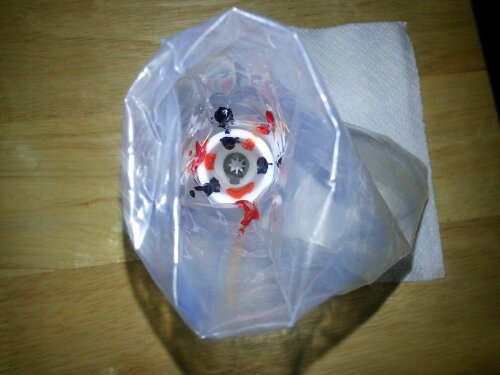
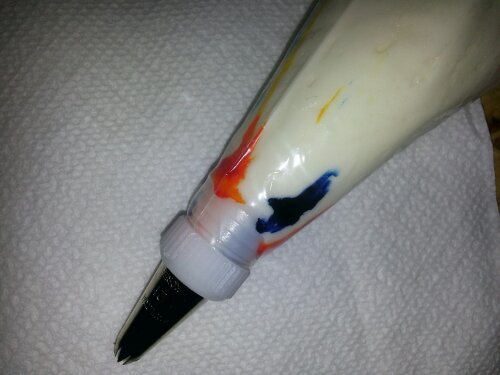
This pin (which is not in English) shows how you can put the icing color gel in the piping bag and then add the icing. When you squeeze out the white icing, it grabs the color and blends it into the design.
image

image

I was making a Despicable Me cake which had a minion on it, so my main colors were yellow and blue. I thought I would alternate the yellow and blue, which would blend together, but hopefully not too much that it turned green.

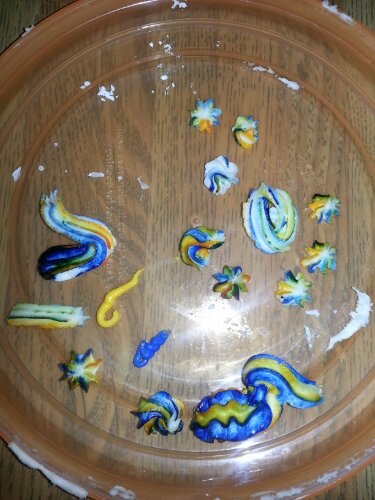
The idea worked, but I did not like how it turned out. There was a lot of white in it and the colors were uneven. The blue was really dark and the yellow was really light. Here is a look at some of my test tries:
image


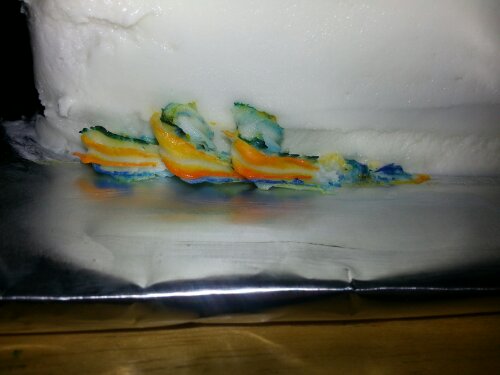
I also tried it on the cake to see if I liked it better than on the plastic lid, but I hated it even more.
image

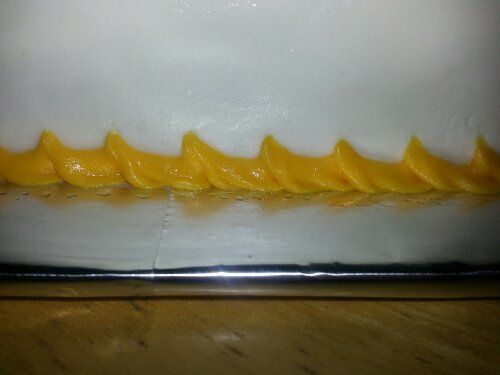
Instead, I made this fun yellow icing look like bananas (which are part of the movie):
image


This is a neat idea, but perhaps I need to perfect it just a bit more before using it on a finished product.

Total cost: $0 (this project cost $0…the materials obviously cost something, but I was going to be making this cake anyway)

image

Day 361 – 8 Things to Make Running Easier

Running and I have a love-hate relationship. I love how I feel after I run. I love running in races even though I am not actually racing the other people. I love listening to music and singing along, sometimes out loud because there is no one around except for the corn and soybeans. I love sprinting at the end to see just how fast my legs can take me. I hate the running part. I hate being out of breath. I hate being thirsty but not having any water.

The more I think about it, there are a lot more loves than hates for me. That was actually a pretty healthy exercise for me to realize that I don’t really hate it as much as I sometimes think I do.

Today I practiced as many of these running tips as I could remember. They worked amazingly well and I was really impressed. Some of them don’t come naturally to me, so I have to keep reminding myself to do them while I go.

1. Weight training: I have been trying to do this as much as I could all summer (and before he summer too). I thought that I would have so much time to go to the gym without needing to go to work everyday. Between babysitting, tutoring, and meetings, I have not had nearly as much gym time as I have hoped. I definitely think that this makes a difference though. I used to be able to run faster. Now that I have had a few weeks of very little gym time, I am struggling to keep my speed over 6 mph. *note to self…get your behind to the gym…no excuses!

2. Take shorter strides: When I was in college, I ran our Turkey Trot and one of the volunteers saw me running and told me to take longer strides to feel better. That seems to be the opposite of what this is saying. I think that in general, I take pretty short strides. It’s hard to take long strides when you have short legs like I do. While I was running today, I thought that this said to take longer strides, so that’s what I did for part of the time. I guess I failed on this one.

3. Learn to breathe right: I usually try to go as long as I can with just breathing through my nose. I know I won’t make it the whole way, but as it gets tougher, I remind myself to take nice long sniffs. Somewhere around mile 1, I always seem to get into the swing of things and forget to breathe through my nose. Then I seem to count 3 steps in, 3 steps out. I have tried the breathe through my nose out through my mouth thing and it just doesn’t work for me. It takes too much thinking and doesn’t feel natural.

4. Eat More: Anything that involves eating more is always on my agenda. I used to think that I would feel sick if I ate before I ran. Then one day, I was starving before a run so I ate a Pop Tart. (healthy…I know…) It was pretty much the best run I have had to date. From that point on, I knew that eating mattered. Now I make sure to eat something first, even if I don’t want to. Nowadays I try to be a little healthier than Pop Tarts. I had Maple Brown Sugar Frosted Mini Wheats with blueberries in it today. It was quite successful.

5. Stretching: I hate this part. I really hate it before I run, so usually I count my walk from my house down my driveway and to the second forsythia plant in my neighbor’s yard as my warm-up. It’s a decent enough walk. Then I stretch when I come home. (this was one that I forgot was on this list today…I still did it, but not because of this list…just because I do)

6. Only increase your distance by 10% each week: This one got me into trouble a few years ago. I had just run a half marathon in May and I took the summer off. Then I decided I could run a 10 miler in September. After not running one tiny bit for 3 months, I went out and repeatedly ran 4, 5 and 6 mile runs to try to get back up to the 10 mile mark and it tore.my.shins.up. When I hear “shin splints,” I think of some wimpy stupid injury that you should just get over. Deal with it you wimp! I am here to say that shin splints are no joke. I went to the doctor and they did some tests and determined that “it’s just shin splints.” While I am glad it wasn’t anything more serious, my shins have never been the same. I have worked hard to get them back to working condition, so now I will for sure be heeding this advice!

7. Start slow, then pick up the pace: This is the opposite of what comes naturally to me. I usually start off in the 7-8 mph range and then slow to a more comfortable 6 mph. After reading this, I decided to start off slower, and I think it kind of made my whole run go more slowly. I think I am going to try not to do this tomorrow and see if I can get back up to my usual faster speed. Maybe it’s because of this, or maybe it’s because I didn’t really run for 2 weeks.

8. Wear the right shoes: Between gigantic blisters and shin splints, I finally realized that shoes matter. I went to a running store a few years ago and I wasn’t impressed. They didn’t really do all of the things I thought they would do, but the shoes were really good. Since I wasn’t really happy with it, I decided not to go back when I needed new shoes. I found a pair of Adidas shoes that I absolutely love. They are light and comfortable and just a perfect fit for me. I am on my second pair and I probably need to start looking into my third pretty soon.

*If you really want the tips, I recommend reading the link to the original site. This is just my abridged description of how I felt about them all.

I think the main thing that I notice is that the tips are good as a starting point, but not everything works for everyone. I am a big fan of doing what works for you, as long as it works.

This site has a bunch of other really great tips also that I used in combination with the 8 things I just mentioned. One thing that I did from that list were to relax my muscles as I went. I also tried to keep my arms moving. That makes a really big difference in my speed, but it is one of those things that I need to think hard about.

There probably is no perfect way to do it. I figure that if I just keep moving, maybe I will be one of those 70 year old grannies out there running races and such.
image

Total cost: $0

Day 360 – Love Photograph

2005 was definitely the year of weddings for me. I went to at least 2 in June, had one of my own in July, had to miss one the week after mine because I was in Jamaica, then went to another one the next week in July. Including my own, I was a bridesmaid in 3 of these 6 weddings. Somehow, we all managed to plan successful weddings without the help of Pinterest.

Shocking, I know!

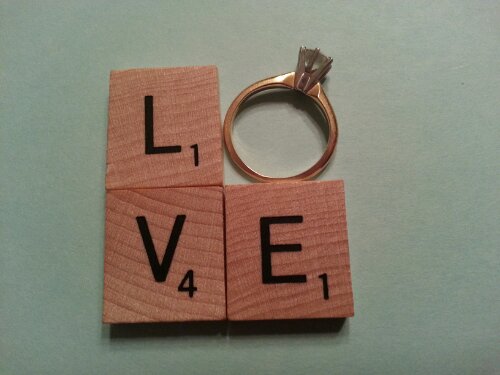
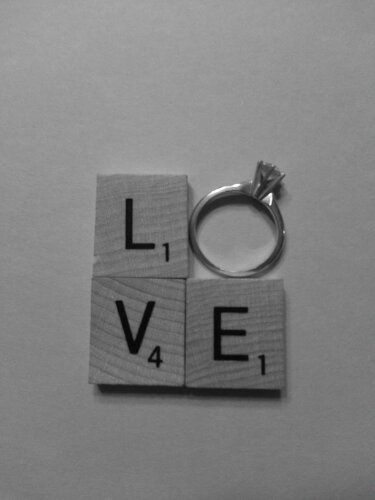
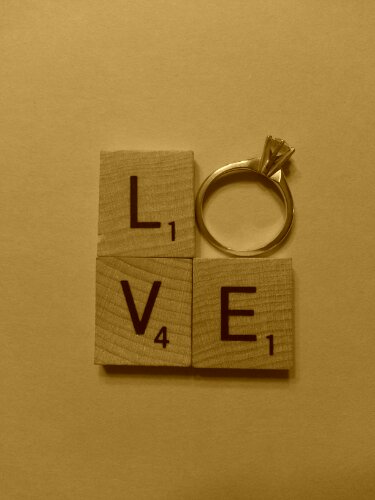
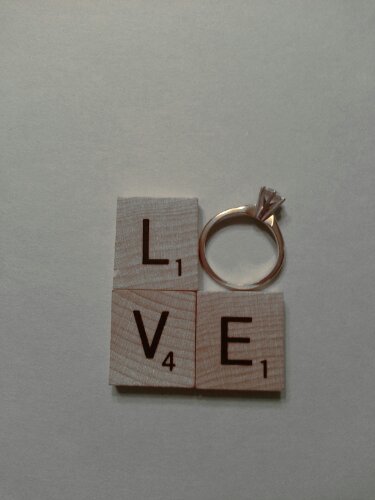
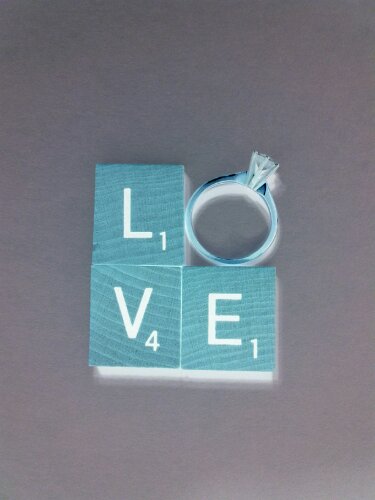
But now that we have Pinterest, the wedding idea cuteness is on overload and I don’t really know what to do with all of it. I decided to make my own version of this photograph to make a card for an upcoming wedding (in the near future…No previews for June 2014 wedding people!).

I have not completely planned out the card in my mind yet, so I took a few different pictures of the same thing. Here is a sampling of some of the choices I have:
image
image

image

image

image


I was going to use this website to think of a message to write inside of the card, but judging by the ones I skimmed, I might be just as safe to use something I thought of myself…I was not impressed…


Total cost: $0

Day 359 – Homework Notebook

Fact: Kids don’t do their homework. A lot.

You would think that when you have basically the same homework every night, you would remember to do it. Sadly, however, plenty of mornings have kids scrambling for excuses. My favorite excuse is “I left it in my book bag,” and then they go to their book bag to look for it only to come back admitting that they didn’t do it. You could have saved us all some time by just admitting it in the first place.

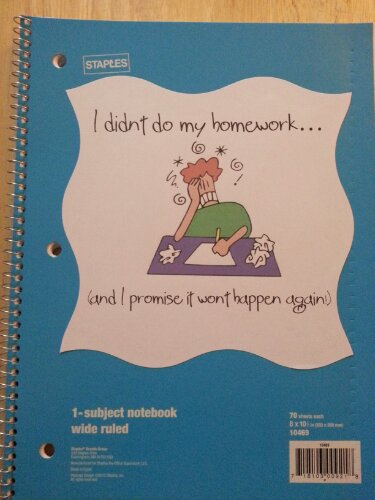
This homework journal is a place for those kids to show accountability when they do not do their assignment. I plan to have kids write their name and the date on some lines that I drew (on the first bunch of pages) and then during recess, they need to write a 3+ sentence paragraph explaining why they didn’t do it.

It is a good way to tell who and how often certain people skip their homework. I also like how it forces them to write a paragraph since they skipped what they should have written the night before.

It will be a few weeks before I put this journal into action, so we will see how it works in real life then. For now, I will just be happy that it isn’t quite school time yet.
image

Total cost: $0.01 (thank you Staples!)

Day 358 – Squirmy Wormies and Bottle Sprinkler

If I did not have access to children, this Pinterest blog would have been lacking some very fun activities. Sure, a lot of them haven’t worked out like we may have hoped, but it has been so fun trying them all.

Today was an especially fun day. I have been wanting to try these squirmy wormies all summer, but every time I suggest it, Little Miss Pinterest turns it down. Today, with the addition of a little mister, I decided to do it without asking. When I showed them the finished product, they were so excited and scarfed them down. Successs!

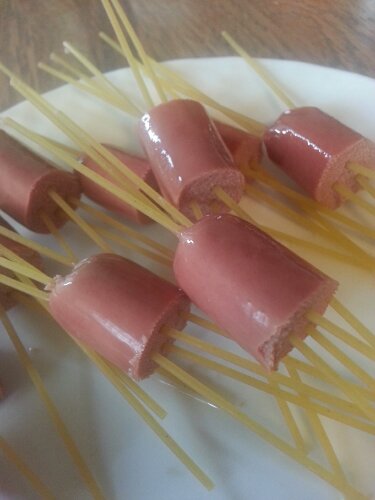
To make these tasty treats, simply slice a hotdog (or turkey dog in my case) and stick some uncooked spaghetti through.
image

Then boil until the spaghetti is done. Simple. Tasty. Fun.
image

Here are my reservations: Everyone knows not to cut hotdogs into throat-sized pieces for kids. We were really careful and everyone was over 3 years of age. If it was our main meal, I probably would have cut them into smaller pieces, but I took a risk, and we are all still alive.

Also, the spaghetti that was on the inside of the hotdog did not cook all the way. It seemed like the hotdog was getting overcooked, so I stopped it when the spaghetti looked wiggly. Perhaps I should have kept it in a little longer.

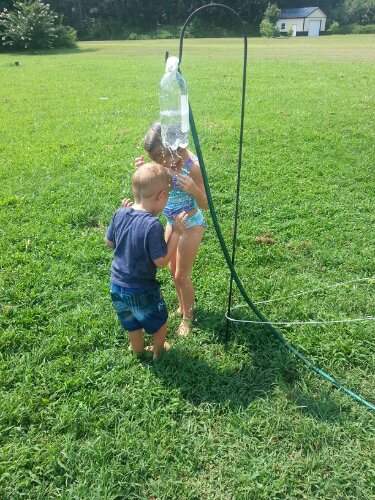
Then, later in the day, everyone was getting a little bored. So we decided to suit up and make a sprinkler.

I drilled some holes into an empty soda bottle, and taped it to the hose. The directions said to use Tyvek tape, which I happened to have. We turned the water on and watched for the water to pump out of the bottle, squirting into the air like it did in the picture…

and instead, we had a slight little drizzle bubbling out of the holes in the bottle. Certainly not anything you could jump in and out of on a hot day. I held it up in the air, and it made a good shower, but it was pretty impractical for me to stand there indefinitely while some kids got soaked.

So instead, I grabbed our plant/bird feeder holder and hung it on there. It was a little low, but fun enough for some water fun. I snapped this picture:
image


And as I was walking away to get my phone out of the splash zone, the bottle fell to the ground. They had approximately 2 minutes of wetness before it all fell apart.

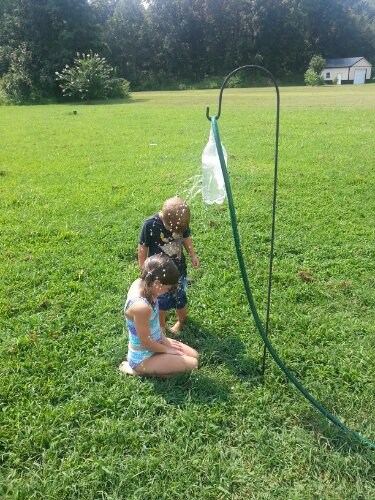
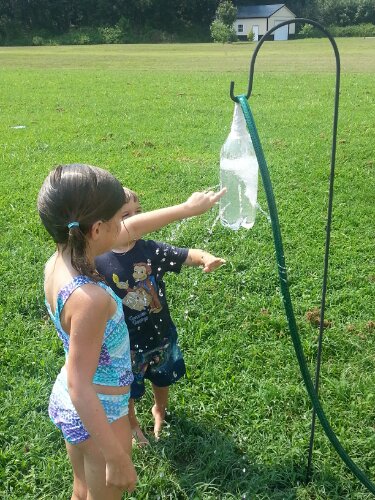
Not willing to let this fun time disappear, I went with plan B (which was my original plan A until I read that they used Tyvek tape…): Duct Tape. I will probably regret it when I go to take it off of my hose, but it worked like a charm.
image

I ended up holding it in the plant hanger so it was tall enough for them to go through. This was not quite as fun as it would have been if I could have been sitting in my lovely gliding patio chair, but it was really not so bad. They had so much fun. They even did their own version of the Cha Cha Slide through the water which was pretty hilarious. Definitely worth a duct taped up hose if you ask me.
image

Total cost: Squirmy Wormies: <$1 (I think the whole pack of hotdogs was somewhere around $2 and I used 2 and a handful of spaghetti.)

Sprinkler: $0


Day 357 – Coffee Filter to Clean Computer Screen

Computer and TV screens are tricky to clean. They make special wipes you can use for them, but who wants to shell out extra money on something like screen wipes? Not me. So I employed a coffee filter to do the job tonight.

I have to say, using a coffee filter to clean a computer screen is really not much different than using a paper towel. They say it is lint free, and I do agree with that, but it also seemed to be a little more rough than a nice soft paper towel. I was afraid to rub too hard because I didn’t want anything to get scratched. Maybe my coffee filter is different than the one they had in the picture, but I figured they would all be pretty much the same.

It definitely cleaned all of the dust off, so in that respect, it was very successful. I just don’t know if I will be making this part of my regular cleaning routine.

Total cost: $<1 (how much does 1 coffee filter really cost?)

image

Unrelated but oh so adorable!

Day 356 – Using Someone Else’s Shower

I cracked up when I saw this pin about using a different shower. It amazes me that there are so many different ways to get water to flow from a faucet. Every bathtub in the world seems to be different.
When I looked at the shower that I was using in a condo today, I immediately thought about this pin.

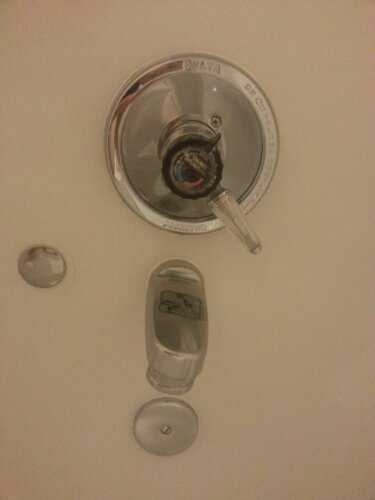
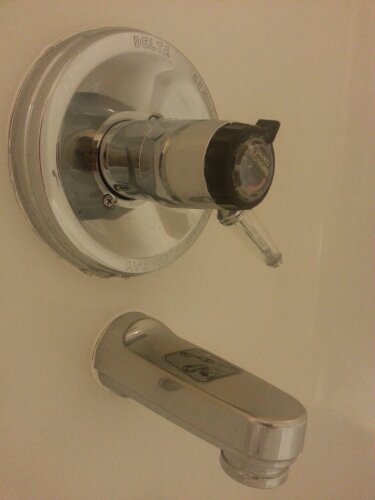
Here is the shower that I needed to decipher this morning:

image

image

My first thought was what in the world is that extra handle thing?
Upon further inspection, that is simply a handle to turn the water flow on and off. Up is on, down is off.
Ok…got it…how about temperature? The blue and red sticker on the black part told me to adjust that lever for heat. Got it.
Now I was almost ready to go, but it wasn’t coming out of the shower head yet.
I had to “read” the sticker that showed a diagram of me pulling down the spout on the faucet to get it to switch from tub to shower.
By this point, I had nearly worked up a sweat just to get the water flowing…good thing I was headed into the shower!

Total cost $0